When I finished my picture made by granny squares with daisies I had a few squares left over. BTW – thank you so much for the attention it received! Amazing! 🙂
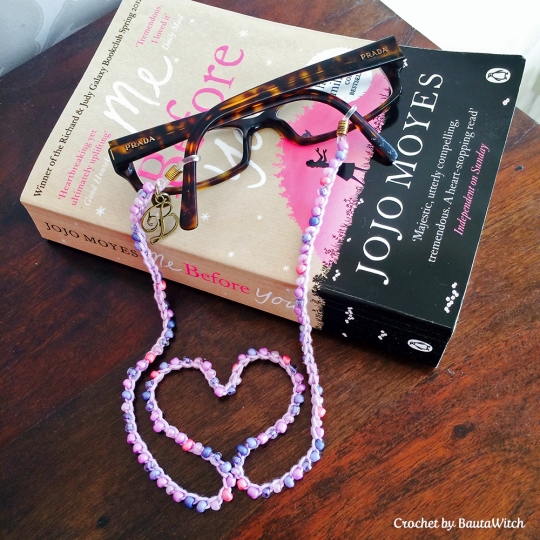
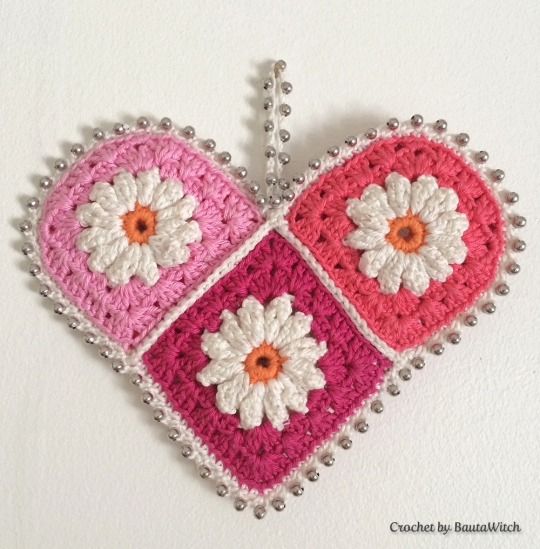
As you know by now, I love hearts and who does not!? With the squares left over, I have now made a beautiful heart just in time for Valentine’s Day.
If you like it and want to make one, you will be pleased to know that it did not take me more than 2 evenings in front of the TV, to make it. Which means, you have time to finish it before Valentin’s Day!
Valentine’s Heart by BautaWitch
This pattern is translated to US English. Please remember that English is my second language and crochet terms is not something they teach you in school… 😉 Let me know if I have made mistakes or used ”funny” words!

As always, I have used the wonderful yarn, Catania (a high quality all round cotton yarn from German Schachenmayr) and a hook 3,5 mm, but any yarn you like will do! 🙂
YOU WILL NEED:
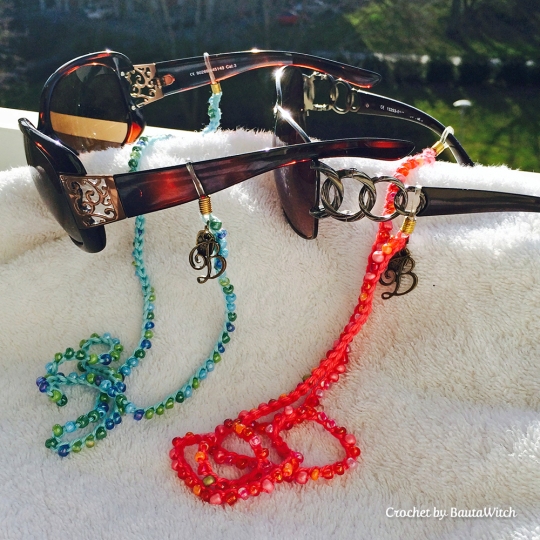
- Silver colored beads with a large enough hole to be threaded on your yarn. Mine are from a neckless I slaughtered, bought at a sale for 3 USD…
- 2 Daisy granny squares. Just follow this link to to Color’n Cream, where Jenn Poort has made an excellent photo pattern in English, called Vintage Flowers, which inspired me to make my Daisy Granny Squares. Or if you are if you are an enough adventurous person, follow the link to my photo pattern! 😉
- 4 Daisy granny squares with a heart bow shaped edge (I will show you how to make it, don’t worry!)
- If you like, a piece of thin foam rubber or cardboard.
THIS IS HOW YOU DO IT:
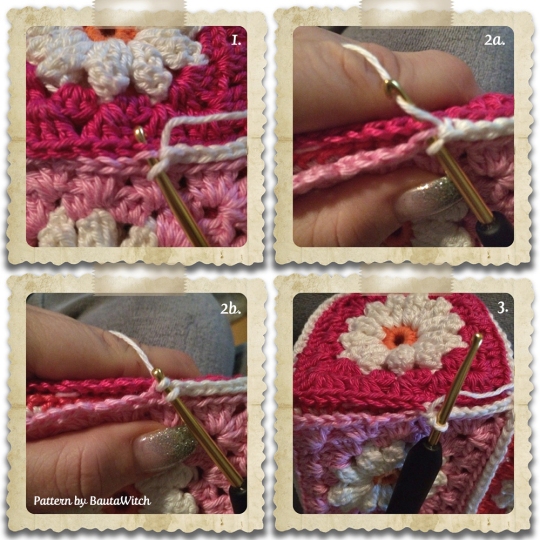
Crochet 4 Daisy granny squares according to the usual pattern BUT when you have two corners left on the last round you crochet the corners as below:

1. 1 ch
2. 3 sc in corner st
3. 1 ch
4. *3 dc in next st* Repeat 2 times.
5. Crochet the next corner as your last and finish the round as usual.
6. The front or back of your heart.
ASSEMBLY:
Assembly your heart with the back of your squares facing each other. I use sc in the back loop.
IMPORTANT TO THINK ABOUT:
Your heart will be as beautiful on both side but depending on how you intend to display it, you should consider whether you want to fill it with something or not.
If it is to hang on the wall, you need no filling. But if it should hang freely and dangle you should use a thin piece of foam or cardboard (which you cut into a heart shape) or it will not be displayed in the very best way.
BORDER WITH BEADS:
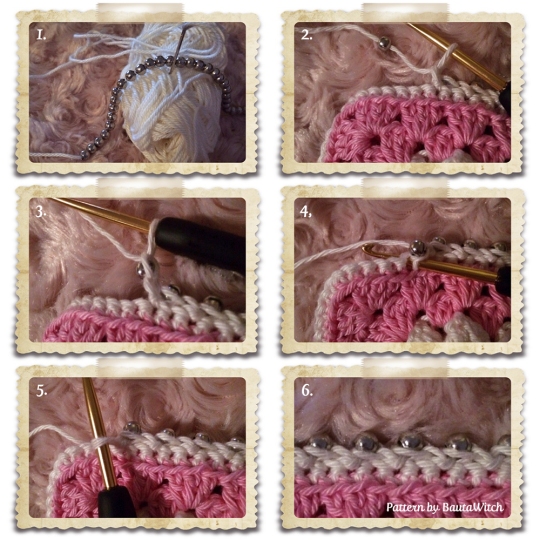
1. Thread the beads on your ball of yarn. I used about 80 beads but to be on the safe side, thread a few more.
You crochet the border with the wrong side of your work facing you (the border becomes slightly more visible from the front then). Pick any stitch to start.
2. 1 ch
3. Crochet one bead with the next ch (It sounds so much more confusing than what it is – just give it a try!)
4-5. skip 1 st, 1 sl st
Repeat 2-5 until you have finished the whole round. You make the hanger when you are at the space between the arcs of the heart.
Hanger: *1 ch, in the next ch you also include a bead* Repeat between the * until you feel that your hanger has the right size.
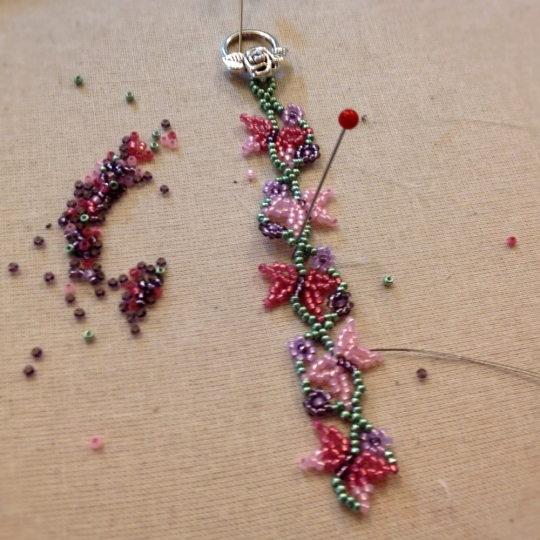
6. A close up of the border seen from the back.

Your heart is done!
…only one thing remains – you have to give it to someone you love!
And please, do not forget to link to my blog if you share photos of your heart with the world anywhere on the net!
✿ BautaWitch ✿ Åsa Bautovic ✿